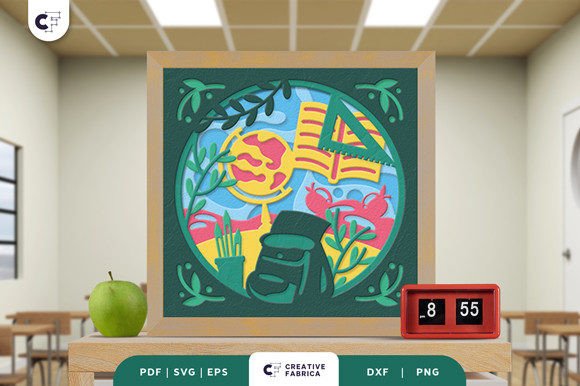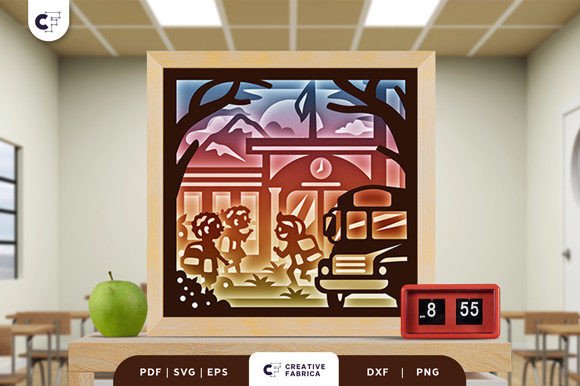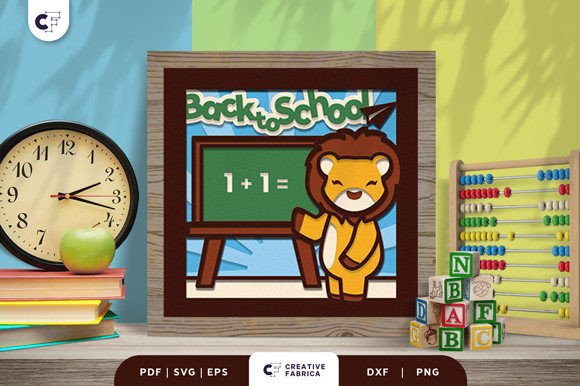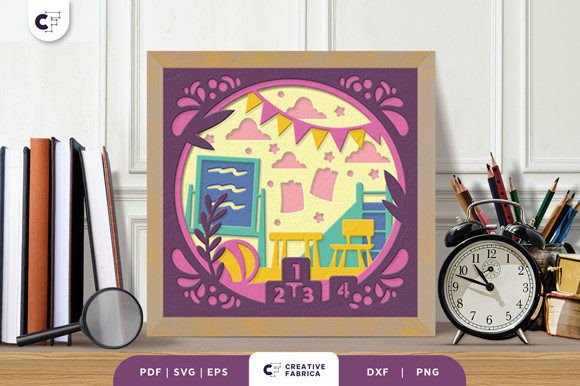
Kindergarten 3D Shadow Box Papercut: A Creative Craft for All Ages
The Kindergarten 3D Shadow Box Papercut is a unique and engaging craft that combines art, creativity, and precision. This layered paper-cut design is perfect for both beginners and experienced crafters looking to add a personal touch to their space or gift. With its intricate details and colorful layers, this project can be transformed into a framed wall decoration or even a light box with added LED strips for an extra special effect.
Understanding the Kindergarten 3D Shadow Box Papercut
This papercut features seven distinct layers, each cut precisely to create a three-dimensional effect when assembled. The size of the template is 20.32×20.32 cm, making it compact yet detailed enough to showcase your craftsmanship. Available in multiple formats—SVG, PDF, EPS, PNG, and DXF—the design is versatile and compatible with various tools, from cutting machines like Cricut to traditional methods like scissors and an art knife.
Whether you're a hobbyist, educator, or small business owner looking to create custom gifts, this papercut offers endless possibilities. It’s especially popular during back-to-school seasons as a thoughtful and personalized present.
Common Mistakes to Avoid When Using the Kindergarten 3D Shadow Box Papercut
While the Kindergarten 3D Shadow Box Papercut is a rewarding project, there are several common mistakes that can affect the final result. Being aware of these pitfalls can help you achieve a more polished and professional-looking piece.
1. Not Keeping the Aspect Ratio When Resizing SVG Files
Many users overlook the importance of maintaining the aspect ratio when resizing SVG files. While it's tempting to scale the design to fit different spaces, altering the proportions can distort the layers and ruin the 3D effect. Always ensure the width and height remain proportional to preserve the integrity of the design.
2. Using the Wrong Type of Cardstock
The quality of your final product heavily depends on the cardstock you choose. While the template recommends using Encore Cardstock 80 lb cover 216 gsm, many crafters opt for cheaper alternatives. Lower-quality paper may tear easily, leading to frustration and wasted time. Investing in high-quality materials ensures a smoother process and a more durable finished piece.
3. Rushing the Assembly Process
Assembling the layers of the Kindergarten 3D Shadow Box Papercut requires patience and care. Rushing through the process can lead to misalignment, uneven gaps, and an unprofessional appearance. Take your time to align each layer carefully, and use glue or double-sided tape to secure them in place.
4. Ignoring Lighting Considerations
The final appearance of the shadow box can vary depending on the lighting conditions. Since the images provided are for preview purposes only, it’s important to test the design under different lighting sources. Natural light, artificial light, and even the color of the paper can all influence how the shadows appear. Be prepared for slight variations in the final look.
Practical Tips for Success
Creating the Kindergarten 3D Shadow Box Papercut successfully involves more than just following the steps. Here are some practical tips to help you avoid common issues and enhance your results:
- Use the Right Tools: If you don’t have a cutting machine, opt for a sharp blade and steady hands. Practice on scrap paper before working on the actual design.
- Check File Formats: Ensure you download all required file types (SVG, PDF, etc.) and verify they are compatible with your software or machine.
- Plan Your Workspace: Keep your workspace clean and organized. Having all your materials ready will streamline the process and reduce errors.
- Test the Design: Before committing to a final product, consider creating a smaller version or using leftover paper to test the design and assembly process.
- Consider Presentation: Think about how you want to display your finished piece. A framed wall decoration or a light box can elevate the visual impact of your work.
What to Check Before Starting Your Project
Before diving into the Kindergarten 3D Shadow Box Papercut, take a moment to evaluate the following:
- Tools and Materials: Ensure you have access to the necessary tools, including cutting instruments, adhesive, and appropriate cardstock.
- Time and Space: Allocate sufficient time and a suitable workspace to complete the project without rushing or distractions.
- Instructions: Review the template instructions carefully to understand the assembly process and any specific requirements.
- Lighting Needs: If you plan to use LED strips, make sure you have the necessary components and know how to install them safely.
- Quality Expectations: Set realistic expectations based on the materials used and your skill level. High-quality results often come from careful attention to detail.
By being mindful of these considerations, you’ll be better equipped to handle the challenges of the Kindergarten 3D Shadow Box Papercut and enjoy the satisfaction of a well-crafted final product.